AriOS is the successor of
mFatOS, an Ubuntu remaster we talked about a while back. AriOS 2.0 was released today and it's based on Ubuntu 10.10 - the new version tries to replicate Unity but as opposed to Unity, it's customizable thanks to Avant Window Navigator. In AriOS, everything works out of the box and most popular applications are installed by default which I'm sure those with a limited Internet connection will appreciate.
First impressions / looks
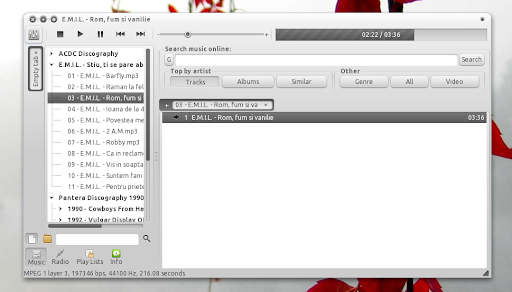
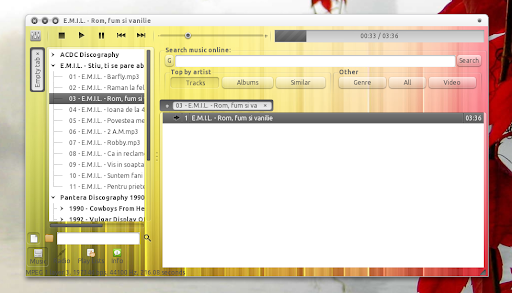
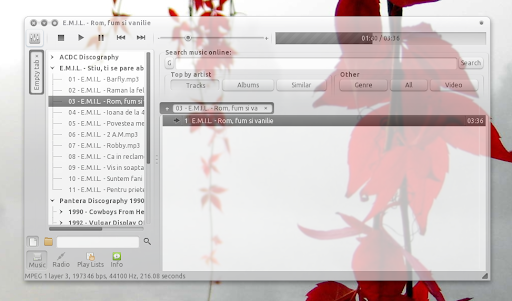
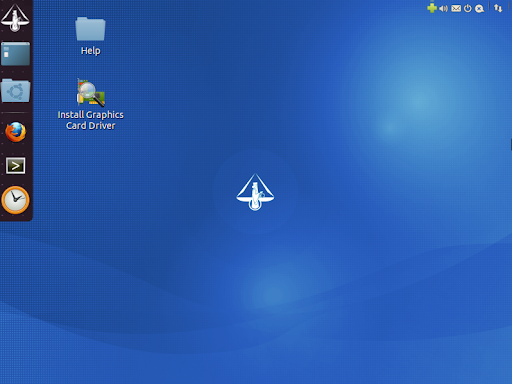
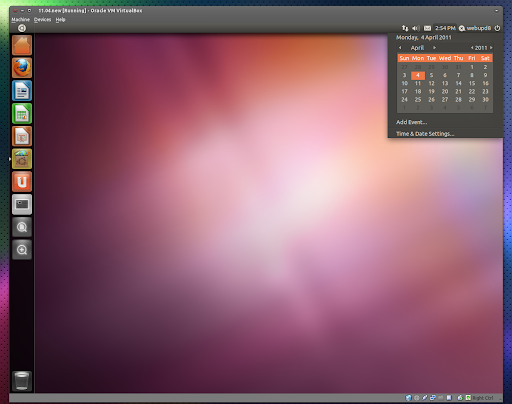
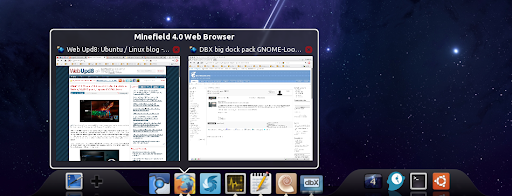
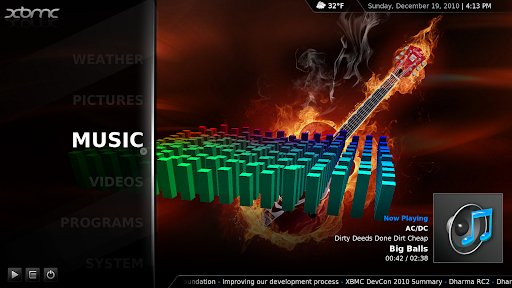
The AriOS interface is inspired by Unity but instead of the Unity "dock" it uses Avant Window Navigator which is a lot more customizable, with DockBarX for the launcher / task manager. Using AWN, you get all the amazing applets that come with it and DockBarX offers window previews, fancy menus and more.
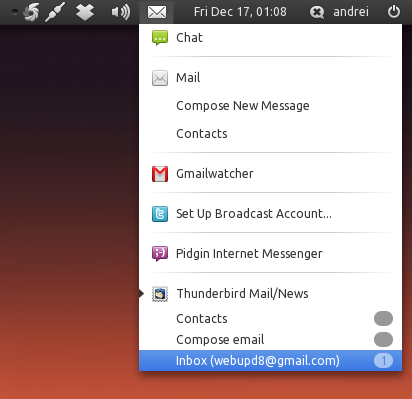
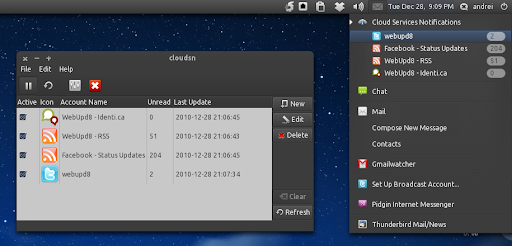
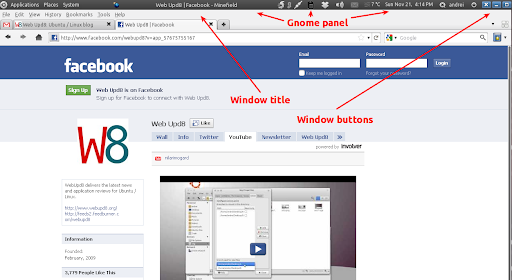
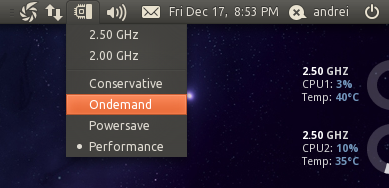
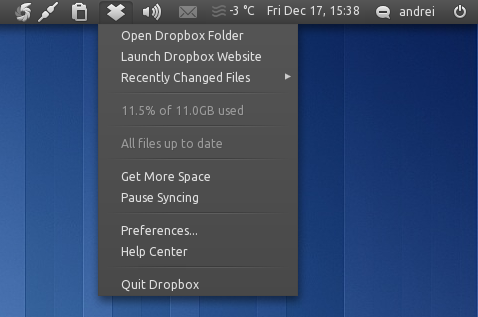
No, it's not Wingpanel on the top-right corner but another instance of Avant Window Navigator designed to replicate a floating appindicator, but unlike Wingpanel (and unlike Unity), there's also a notification area (systray) available. When maximizing a window, the top-right AWN appindicator/notification area nicely covers the application which gives both a slick look and more screen real-estate.
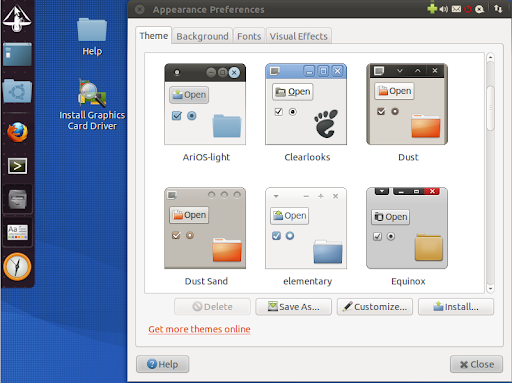
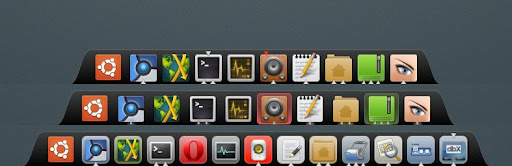
The default AriOS theme is a customized blueish Ambiance and the icons are a mod of MeliaeSVG theme. For those who prefer dark themes, AriOS provides a dark version of it's default theme - you can change it from the Appearence Preferences. But that's not all - AriOS comes with all the popular GTK themes installed by default: Orta, Lucidity (and variations), Equinix (and variations), Elementary and of course, icon themes such as: Elementary, Candy and Faenza.
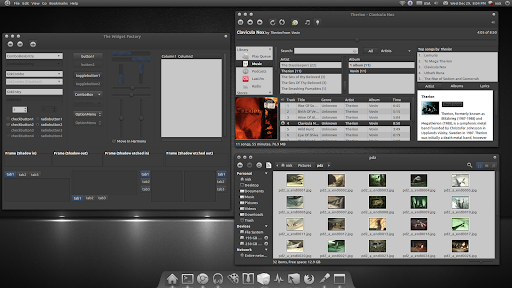
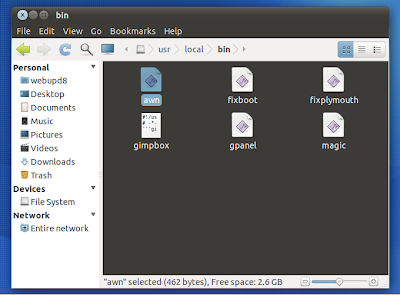
Switch between Avant Window Navigator and classic Gnome panels in seconds
AriOS comes with a somewhat unique feature (it seems Ubuntu 11.04 will also have something that will let you chose): by default, it uses Avant Window Navigator instead of the classic Gnome panels but
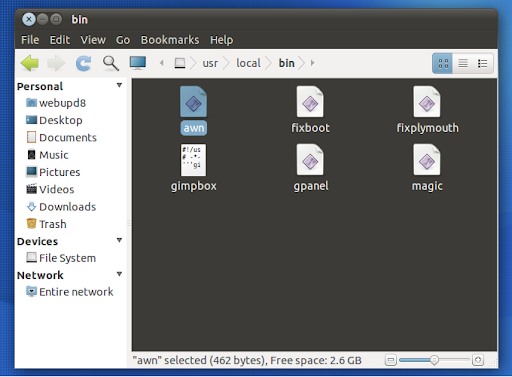
if you open a terminal and type "gpanel", then log out and log back in, AWN will be replaced by the Gnome panels. If you want to go back to using Avant Window Navigator, open a terminal again and type "awn", then log out and log back in.
Default applications
Because AriOS is designed to be a Linux distro / remaster that you can use right away, it comes with all the cool applications that most blogs write about these days:
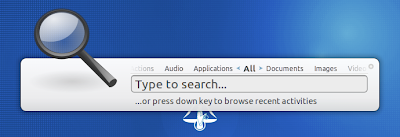
Synapse,
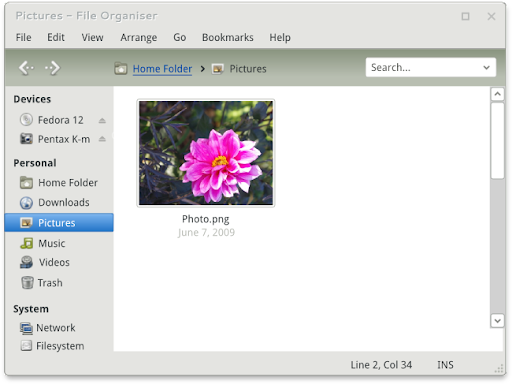
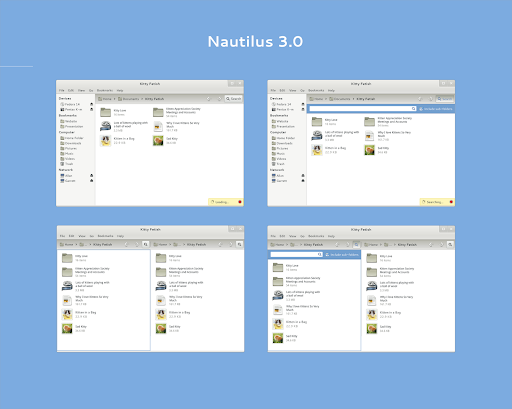
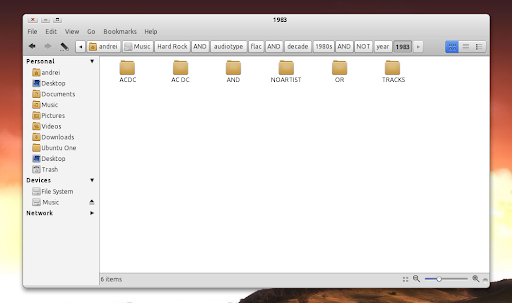
Nautilus Elementary,
Kazam (screencast tool), Ubuntu Tweak,
Grub Customizer,
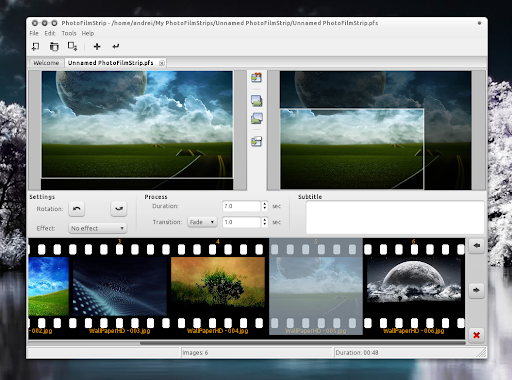
PhotoFilmStrip,
Gloobus Preview,
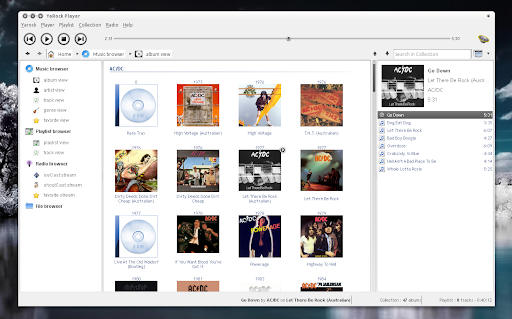
Granola as well as two browsers: Firefox and Chrome and Clementine for the music player (but Rhythmbox is also available). Other default applications include:
gThumb, Shutter, TrueCrypt, Thunderbird, Empaty, Uget, Transmission, NTM, Geany, Cheese, Brasero, Arista Transcoder, Wine, our very own
Y PPA Manager and more.
Since now everybody uses Twitter / Identi.ca, AriOS has this covered too by including the
most popular Twitter client for Linux: Hotot.
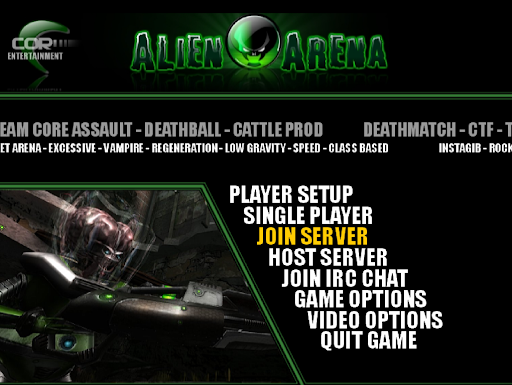
For a video player, AirOS comes with the application everybody uses (yet it's not default in any Linux distribution): VLC (but Totem and Smplayer are also available). Image editing is also covered for both the novice and advanced: GIMP, Inkscape and Pinta are all installed by default.
And since no OS is ready to use out of the box without
codecs, you'll be glad to know AriOS comes with everything you need to play almost any audio or video files. Further more, for those who don't have full internet access, AriOS comes with
offline installer for proprietary Nvidia and ATI (AMD) graphics drivers (simply double click the icon on the desktop).
Tweaks
I was telling you about a tweak easily switch to Gnome panels - that's not the only one included in AriOS. Some other tweaks can be applied manually - these are usually things only advanced users do, but thanks to AriOS, everyone can fix the Plymouth for restricted graphics drivers or install a "200 lines" patched custom kernel.
Included "manual" tweaks:
-
Install the "200 lines patch" Linux Kernel without downloading it: simply open a terminal and type "magic".
-
Fix the Plymouth for proprietary Nvidia and ATI graphics drivers:
the script we've written about a while back is included in AriOS - to apply it, open a terminal and type "fixplymouth".
- Gimpbox (single window Gimp for the stable Gimp version) is yet another script included by default - to run it, type "gimpbox".
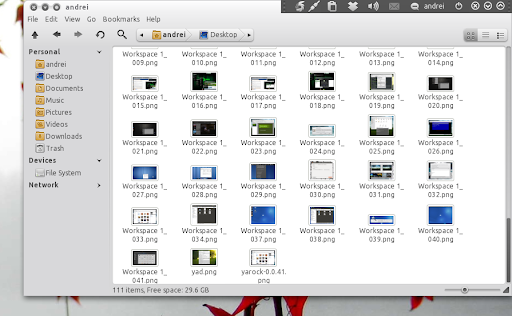
Some further tips and tricks can be found inside the "Tips.pdf" file in the Help folder (you can find it on the desktop). Here, you'll also find some further info on AriOS as well as some video tutorials.
Those are of course tweaks that you can apply by yourself but many tweaks are already applied by default. For instance, since the default interface uses AWN without any Gnome Panels, the Gnome Run dialog can't work but AriOS has Synapse binded to the ALT + F2 keys (as well as ALT + SPACE) so only the looks change, the functionality is the same. To discover all the tweaks in AriOS, try it for yourself!
Downsides? There's only one to AriOS: the large number of default applications, many of which serve the same purpose. While that's great for those with no / limited internet connection, it might be annoying for the rest. On the other hand, if you only want some basic applications installed by default, you would install Ubuntu and not AriOS so the large number of default applications does make sense in a way.
Download AriOS
AriOS comes in two editions: International (English) and Iranian, both for 32bit only for now.
Download AriOS |
AriOS website (work in progress)
to be able to use non-english language packs, run the following command:
sudo apt-get install --reinstall locales localechooser-data
Then you can go to the Language Support in the administration menu, install your language and press "Apply System-wide".